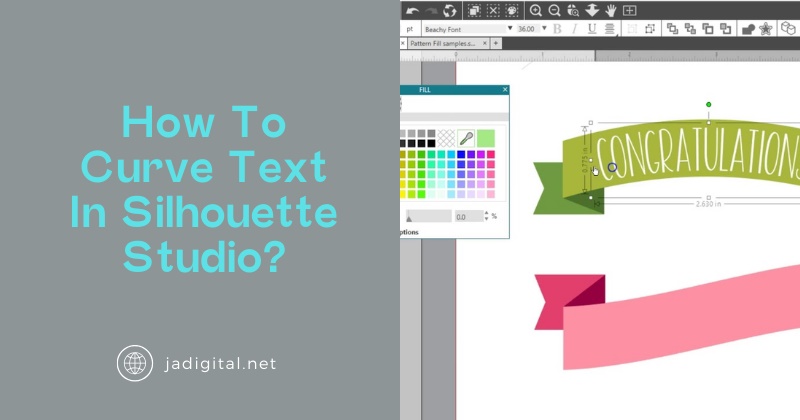
Silhouette Studio is a versatile and widely used software among crafters and designers for creating custom projects. One of its most sought-after features is the ability to curve text, which allows users to create unique and visually appealing designs. From creating personalized mugs to designing intricate wall decals, curving text can take your projects to the next level. In this article, we’ll guide you through the process of curving text in Silhouette Studio, offering tips, troubleshooting advice, and creative applications along the way.
Quick Navigation
Understanding the Basics of Silhouette Studio
Silhouette Studio is the companion software for Silhouette cutting machines, such as the Cameo and Portrait. It’s known for its user-friendly interface and powerful design tools, making it a favorite among hobbyists and professionals alike. Whether you’re designing vinyl decals, heat transfer designs, or paper crafts, the ability to manipulate text—including curving it—is a fundamental skill.
Curving text is particularly useful when creating designs for round or curved surfaces, such as mugs, plates, or ornaments. It’s also helpful for creating logos, banners, and other decorative projects where straight text might not achieve the desired aesthetic. Mastering this skill will not only improve the quality of your designs but also expand your creative possibilities.
Step-by-Step Guide to Curving Text
Step 1: Open Silhouette Studio and Start a New Project
Begin by launching Silhouette Studio on your computer and creating a new project. Open a blank workspace by selecting “File” and then “New.” Ensure your design page settings match the dimensions of your intended project. For instance, if you’re working on a vinyl decal for a mug, adjust the page size to reflect the vinyl sheet’s dimensions.
Step 2: Add Text to the Canvas
Select the “Text” tool from the left-hand toolbar. Click anywhere on the canvas and type your desired text. You can then customize the font style, size, and alignment using the text panel. Silhouette Studio offers a wide range of fonts, and you can also install third-party fonts to expand your options.
Experiment with different fonts to find one that complements your project. For example, bold and simple fonts work well for decals, while script fonts may be better suited for decorative projects. Once you’ve chosen a font, adjust the size to fit the intended curve.
Step 3: Draw a Curve or Shape
Next, use the shape tool to create a curve or shape that your text will follow. The most common shape for curving text is a circle, which can be drawn by selecting the “Ellipse” tool. Hold down the Shift key while dragging the cursor to create a perfect circle. If you need an oval or another shape, simply release the Shift key and adjust the dimensions as needed.
Position the shape on your canvas where you want the text to align. For instance, if you’re designing text for a circular label, ensure the shape’s size matches the label’s dimensions.
Step 4: Align Text to the Curve
To curve the text, select it and then click the “Text to Path” feature. This allows you to attach the text to the drawn shape. Drag the text to the edge of the shape until it snaps into place along the curve. You’ll notice the text aligns itself to the shape’s path.
Once the text is on the curve, you can adjust its position by dragging it around the shape. For example, if you’re creating a design with text around the top of a circle, position the text accordingly. Similarly, you can flip the text to align it with the bottom of the circle by dragging it inside the shape.
Step 5: Fine-Tuning the Text
After aligning the text to the curve, you may need to make adjustments to ensure it looks polished. Use the character spacing option to increase or decrease the space between letters. You can also adjust the font size if the text appears too large or small for the curve.
If you’re satisfied with the alignment but need to move individual letters, ungroup the text to break it into separate elements. This gives you complete control over each character’s position, allowing for precise adjustments.
Step 6: Remove or Edit the Curve
Once your text is perfectly aligned, you may not need the original shape anymore. Select the shape and either delete it or make it invisible by changing its line color to transparent. If you want to keep the shape as part of your design, you can modify its color or line thickness to match the text.
Troubleshooting Tips
Curving text can sometimes present challenges, especially for beginners. Here are some common issues and how to resolve them:
- Text not snapping to the path: Ensure you’ve selected both the text and the shape. Double-check that the shape is closed (e.g., a complete circle) rather than an open path.
- Text alignment appears uneven: Use the spacing and alignment tools to adjust the positioning. For more precision, zoom in on your design while making adjustments.
- Shape disappears after text alignment: This can happen if you accidentally group the shape with the text and delete the group. Always select the shape independently if you want to remove it.
Practical Applications of Curved Text
Curved text can elevate the design of many crafting projects. Here are a few examples:
- Mugs and Tumblers: Add personalized names or quotes along the curve of a mug for a professional look.
- Wall Decals: Create decorative quotes with curved text to fit round or irregular wall spaces.
- Ornaments: Design holiday ornaments with curved messages around the edges.
- Logos: Incorporate curved text into your branding for a unique and eye-catching effect.
Advanced Techniques
Once you’ve mastered basic curved text, explore advanced techniques to enhance your designs. For instance, you can layer multiple curved texts around a single shape to create complex compositions. Combine curved text with other design elements, such as images or patterns, to add depth and texture.
Experiment with different shapes beyond circles, such as waves or arcs, to create dynamic and unconventional text effects. Silhouette Studio also allows you to use imported SVG files as paths, opening up even more possibilities.
Conclusion
Curving text in Silhouette Studio is an essential skill that can transform your crafting projects. By following the step-by-step guide and troubleshooting tips provided in this article, you’ll be able to create professional-quality designs with ease. Whether you’re personalizing a gift or designing a logo, curved text adds a touch of creativity and elegance. Start experimenting today, and don’t forget to explore other Silhouette Studio features to continue growing your design skills.