
PowerPoint presentations often need tweaking to get them just right. Removing text boxes can clean up your slides and keep your audience focused.
To delete a text box in PowerPoint, you need to select it and press the delete key. Sounds simple, right? But sometimes, it can be tricky if the text box is part of a group or set within a particular design.
Let’s dive into the process of clearing out those unnecessary text boxes from your PowerPoint slides. Whether it’s a single pesky box or a batch that needs to go, knowing how to do this is a basic yet essential PowerPoint skill. This guide will walk you through the steps, ensuring your slides look professional and uncluttered. With clear instructions, even those who are new to PowerPoint can quickly learn how to remove text boxes, making their presentations shine. Keep reading to find out how you can enhance the visual appeal of your slides by getting rid of unwanted text elements efficiently.

Credit: www.youtube.com
Quick Navigation
Introduction To Text Boxes In Powerpoint
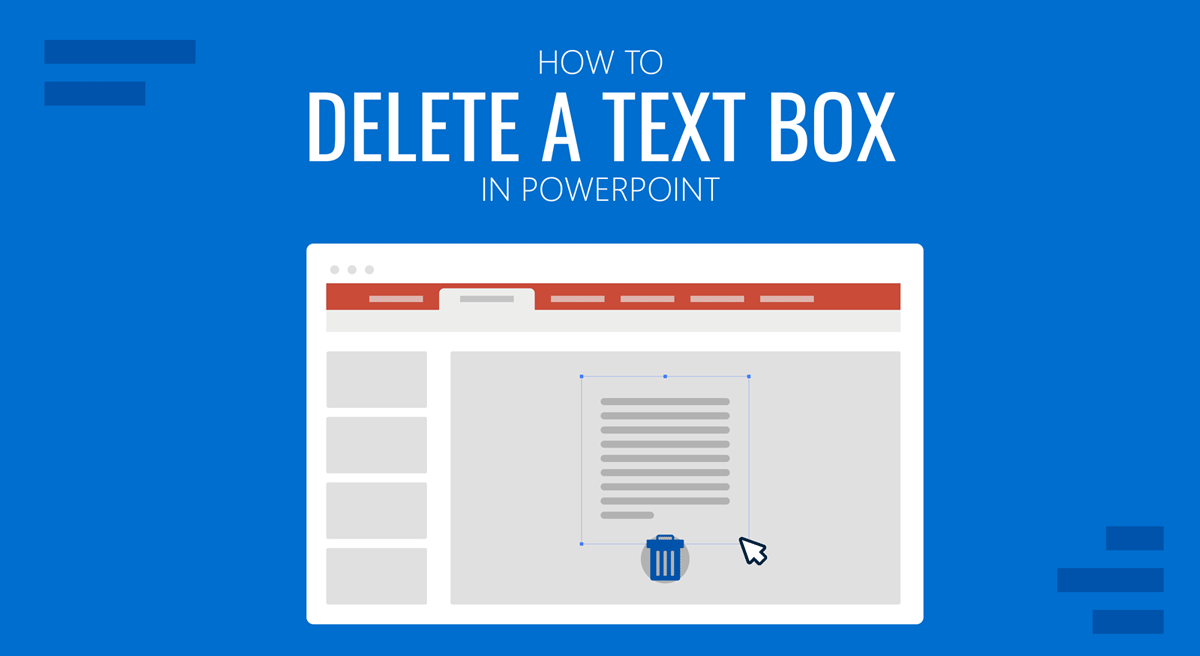
Text boxes in PowerPoint let you add text to slides. Sometimes, you need to remove them. Maybe the slide is too busy. Or the text box is no longer needed. It’s easy to delete one.
- Click on the edge of the text box.
- Press Delete on your keyboard.
The text box will vanish. Your slide looks cleaner. This helps your audience focus on what’s important. Remember, always save your work. You don’t want to lose changes by mistake.
Step-by-step Guide To Deleting Text Boxes
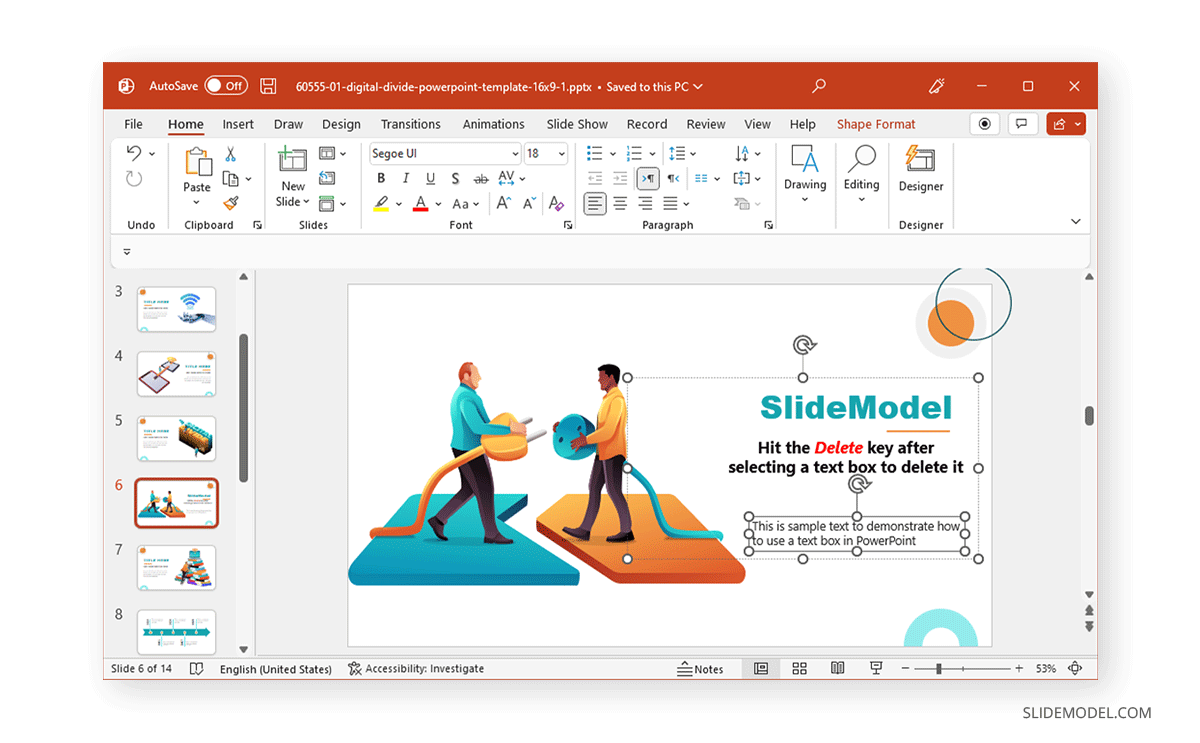
To delete a text box in PowerPoint, first, click on the box you want to remove. Make sure the edge of the box has a solid line. This means it’s selected. Next, press the Delete or Backspace key on your keyboard.
Want to work faster? Use shortcut keys. Pressing Ctrl + X cuts the text box. This removes it too. Remember, practice makes perfect. Soon, deleting text boxes will be easy and quick for you.
Troubleshooting Common Issues
Sometimes, text boxes in PowerPoint don’t click right. This can be tricky. Here’s what to do.
To fix a text box that won’t select:
- Try clicking on its edge.
- Zoom in for a better view.
- Use the Selection Pane under the Arrange menu.
Made a mistake? Don’t worry.
- Press Ctrl + Z to undo.
- Or, find Undo on the Quick Access Toolbar.
Sometimes, boxes stick around. They won’t go away easily.
- Check for groupings. Ungroup if needed.
- Right-click the stubborn box. Choose Cut.
Credit: slidemodel.com
Advanced Tips And Tricks
To delete multiple text boxes at once, select them while holding the Shift key. Then press ‘Delete’. This method saves time.
Using the Slide Master ensures all slides look the same. It lets you remove text boxes from all slides quickly. Open Slide Master, delete the text box, and save. Changes apply to all slides.
Macros can make deletion faster. First, record a macro while deleting a text box. Then, run this macro to delete other text boxes. This method requires some basic coding knowledge.
Credit: slidemodel.com
Conclusion
Deleting a text box in PowerPoint is simple. Just select it, press delete, and you’re done. This quick fix cleans up slides and keeps presentations sharp. Remember, practice makes perfect. So, try these steps out. They’ll soon become second nature.
And your PowerPoint skills? They’ll get better with each slide. Keep learning, keep improving, and your next presentation will impress everyone. Good luck!
Last Updated on May 16, 2025 by JADigital Editorial